Tinglee Studios
  • Home
  • Projects

Waypoints for 2D Pathfinding 1.0 (Unity 3D)

2/10/2013

0 Comments

 
Picture
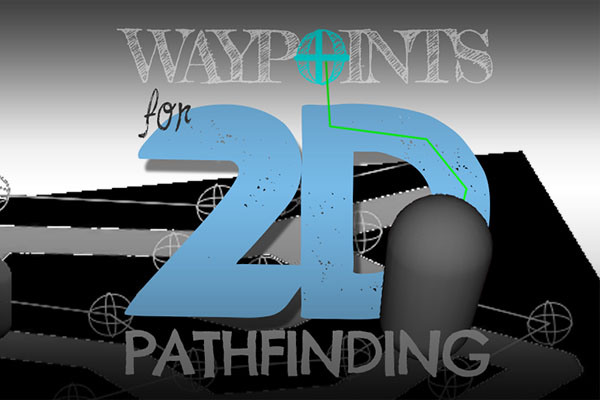
Setting up a network of waypoints using the A* algorithm has never been easier! Three buttons are all you need setup new, link existing, and insert in-between waypoints. Once they are linked up, you’re pretty much ready to go!

features

  • Pathfinding on 2D xz-plane
  • One-click to add new (linked) waypoints
  • One-click to link-up selected waypoints
  • One-click to insert a waypoint between two selected waypoints
  • Show/Hide waypoint connections in scene view
  • Show/Hide final path in scene view
  • Customize gizmos color and size
  • Use mouse-click to determine destination waypoint
  • Toggle between waypoint-click detection and mouse-click position detection
  • Adjustable player movement speed

View it now at the Unity Asset Store.

tutorial

  1. Importing the W2DP package
  2. Setting up a scene
  3. Adding new waypoints
  4. Inserting in between waypoints
  5. Joining 2 waypoints
  6. Deleting waypoints
  7. Adjusting the player movement speed
  8. Toggling gizmos view

1. Importing the W2DP package

  • In the Hierarchy tab, right-click under Assets > Import Package > Custom Package
  • Select “W2DP.unitypackage” in the containing folder, and click “Open”.
  • In the pop-up window, click “Import”.

2. Setting up a scene

camera
  • Attach the “WP_Manager” script to the Main Camera.
    (or the first enabled camera tagged as “MainCamera”).
light
  • In Menu options – Game Object > Create Other > Directional Light
ground / map
  • In Menu options – Game Object > Create Other > Plane
  • Reset position to 0,0,0 (optional).
  • Ensure that the visible flat side is face the +Y-direction.
  • Rename as “background” (optional).
  • Give it a material (can use any material).
player
  • In Menu options – Game Object > Create Other > Capsule
    (or any other preferred object).
  • Reposition accordingly.
  • Rename as “player” (optional).
  • Attach the “AI_Pathfinder” script to the player.

3. Adding new waypoints

the 1st waypoint
  • In the Project tab folders – Assets > Waypoints for 2D Pathfinding > Prefabs
  • Drag the “waypoint0″ prefab into the scene
  • The first waypoint is created.
  • Adjust the y-position to be the same as the player.
  • In Scene view – change the camera view to “ISO”, and select the “y-axis” (top-down) view.
    Note that the ISO scene view would facilitate the control and position of the waypoints.
  • With the waypoint selected, click on the “Move” tool or press “W” on the keyboard.
  • Drag the waypoint to the desired position.
adding new waypoints
  • Select a waypoint to which you wish to add a connected waypoint.
  • In the Inspector window, under the “Waypoint (script)” section, click on “Add New Neighbour”.
  • A new waypoint is created at the same position of the original waypoint.
  • As the new waypoint becomes the active waypoint, you may simply drag the new waypoint to the desired location in Scene view (with the Move tool selected).
  • Repeat the process for adding new waypoints.

4. Inserting in between waypoints

  • In Scene view, select 2 waypoints (between which you wish to insert a new waypoint).
  • In the Inspector window, under the “Waypoint (script)” section, click on “Insert In Between Selected Neighbours”.
  • The new waypoint is inserted midway between the 2 original waypoints.

5. Joining 2 waypoints

  • In Scene view, select 2 waypoints you wish to join.
  • In the Inspector window, under the “Waypoint (script)” section, click on “Link Selected Neighbours”.
  • The 2 selected waypoints become linked.

6. Deleting waypoints

  • In Scene view / Hierarchy tab, select the waypoint you wish to delete.
  • In the Inspector window, under the “Waypoint (script)” section, unlink ALL neighbours by clicking on the minus button.
  • Delete the waypoint object from the Hierarchy tab.

7. Adjusting the player movement speed

  • In Scene view / Hierarchy tab, select the player.
  • In the Inspector window, under the “AI_Pathfinder (script)” section, adjust the value of the Speed variable to make the player move faster or slower.

8. Toggling gizmos view

waypoints & connections
  • Select the Main Camera in the Hierarchy tab.
  • In the Inspector window, under the “WP_Manager (script)” section, look for “Show Connections”
  • Uncheck/uncheck “Show Connections” to hide/unhide waypoint gizmos view on both Scene and Game view.
  • When unhidden, you can change the color of the waypoint gizmos by clicking on “Gizmos Color”, and picking your preferred color.
  • You may also change the size of the waypoint gizmos by adjusting the “Gizmos Size” variable.
show path
  • The “Show Path” option only makes a difference when the “Show Connections” option is unchecked.
  • When checked, the path only appears when the player is moving.
target must be waypoint
  • When checked, player will only move if destination waypoint is clicked.
  • When unchecked, player will move to the destination waypoint nearest to the mouse-click.
0 Comments

Your comment will be posted after it is approved.


Leave a Reply.


    Categories

    All
    Github
    Personal
    Prefabs
    Scripting
    Singleton
    Tools
    Unity3D
    Unity3D Assets

    RSS Feed


    Geeky Sites

    quora.com
    ​
    lynda.com
    leetcode.com
    ​geeksforgeeks.org
    sdtimes.com

About Me

Trained in materials engineering, had some fun in the graphic design industry, and learnt A LOT during my 4 yrs in data operations. I've been from startups to MNCs, all with the hopes of having a stable career. At the end, I chose to follow my heart, and I've never regretted a day since 2013.

  • Based In Singapore
    Leading a small team, developing some cool VR sh*t for the building and interior design industry.

  • Areas Worked On
    Tools  |  UI  |  Animation Controllers  |  VR  |  AR  |  AI Pathfinding  |  Others (a little bit of everything else)


  • Professional Skills
    Unity3D  |  C#  |  GIT  |  Project Management

    Contact Me

Submit

​Copyright 2017 Tinglee Studios